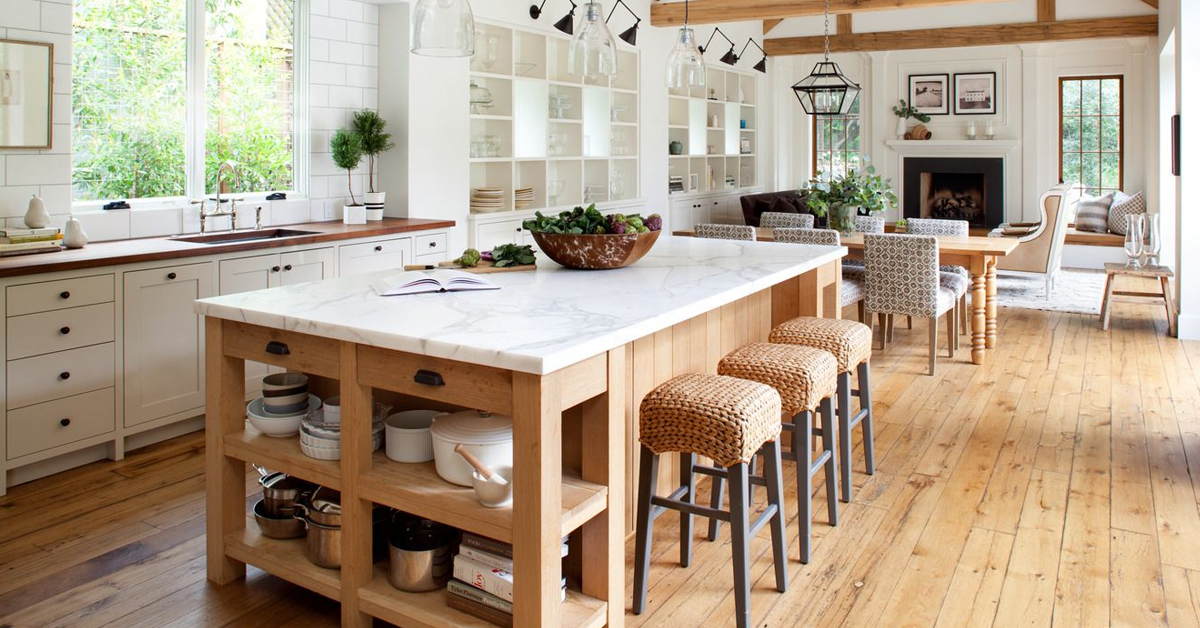
In FWW #313, I confirmed how to decide on and use the three fundamental kinds of mechanical drawer slides. Mechanical slides are used most frequently in built-in cabinetry, on drawers with utilized (or “false”) fronts, that are hooked up to separate drawer packing containers.
These utilized fronts might be hooked up after the cupboards are put in, which permits the cabinetmaker to align them as a separate step. This takes loads of strain off the set up of the drawer packing containers and mechanical slides.
 |
 |
Utilized fronts. The drawers in built-in cupboards typically get mechanical drawer slides—and drawer packing containers with separate fronts. The fronts are hooked up after the drawers are put in, making it simpler to have good even gaps throughout.
What we didn’t have room for within the article had been the Blum drawer-front adjusters I take advantage of to find drawer fronts precisely.
There are a variety of low-tech strategies for finding fronts quickly (involving hot-glue or double-stick tape) after shimming them into place. Then you definitely take away the drawers from the cupboard and drive screws to connect the fronts completely.
The issue with the hot-glue/tape strategies is that you’ve one shot to nail the place of the entrance. In case you get it flawed, or issues shift throughout cupboard set up, you must peel off the entrance, take away the tape or glue, and begin once more.
As a substitute, I extremely suggest utilizing drawer-front adjusters. My favorites are those made by Blum. These are particularly useful for flush, inset drawer fronts, the place the smallest misalignment shall be apparent. However I take advantage of them to find all of my utilized drawer fronts today.

Cheap elements and items. You’ll want (from left) a 20mm Forstner bit, two of Blum’s “marking templates” (dowel facilities, principally), a pack of the adjusters, and the right-length #8-32, pan-head machine screws for the thickness of your drawer.
In contrast with the tape/hot-glue strategies, the adjusters require a couple of extra steps and provides, however they pace issues up significantly and relieve loads of stress. Most significantly, they permit a beneficiant quantity of wiggle room in case you get the situation barely flawed. As a professional cabinetmaker, this lets me connect the drawer fronts within the workshop, after which refine their place after putting in the cupboards, which tends to shift them barely.
If the gaps aren’t good after I’m achieved, the locators make it easy to shift the fronts barely onsite, without having to peel them off the packing containers and begin over.
As soon as the fronts are completely aligned within the cupboards, the locators maintain them firmly in place whereas I drive wooden screws and make them everlasting.
If you’re putting in a financial institution of drawers, start with the bottom one, so every successive drawer entrance might be shimmed and stacked on the earlier one as you go.

Step 1: Drill for the locators. Use the Forstner bit to drill two holes at the back of the drawer entrance.

Mark the drawer field. Place the marking facilities (known as “marking templates”) into the holes, set the drawer entrance on shims, and press it towards the drawer field. This marks the drawer field with two small dents.

Drill the drawer field. Following the dents made within the earlier step, drill 3/16-in. clearance holes for the #8-32 machine screws.

Faucet within the locators. Take away the marking facilities and change them with the plastic adjuster disks, that are tapped into the holes, the place maintain tight with a friction match. The locators have a trapped, threaded steel disk inside, which grabs the machine screw when the entrance is hooked up, permitting a small vary of motion in each course.

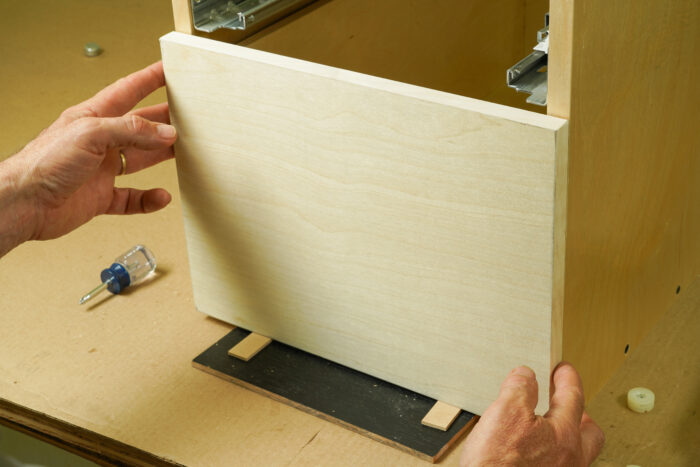
Connect the drawer entrance. Insert the pan-head screws, and tighten them so the fronts are held in place however can nonetheless be shifted.
Regulate the entrance. Push the drawer closed and shift the entrance till the its alignment is ideal. After putting in the cupboards, if issues shift a bit, the adjusters might be loosened and the fronts re-aligned.

Lock it in place. When the cupboards and drawers have been put in, and you might be proud of the gaps across the fronts, lock them in place as follows. Take away every drawer, tighten the locator screws, after which drive wooden screws by means of the within of the drawer field.
The above steps may appear sophisticated, however belief me, they aren’t. In truth, the system is many occasions simpler to make use of than counting on tape or hot-glue, and hoping you nail the position on the primary attempt.
[Mark Edmundson is a furniture- and cabinetmaker in Sandpoint, Idaho.]
Pictures: Asa Christiana

Becoming a Drawer

A Higher Method to Construct Drawers

Becoming Drawers
Editor Really useful 20mm Forstner Bit
20mm Forstner Bit
Very best forstner bit for utilizing with Blum drawer entrance adjusters.
Worth: $8.71 on the time of writing

Editor Really useful Drawer Entrance Adjuster
Blum 295.1000 Customary 3/16″ Drawer Entrance Adjuster-10 Pack
Pack of drawer entrance adjusters, good for creating good reveals on inset or overlay drawer fronts.
Worth: $7.39 on the time of writing

Editor Really useful Drawer Entrance Adjuster Template
Blum Drawer Entrance Adjuster Marking Template
This template acts as a “dowel heart” for punching a gap to mark the place to drill fro clearance holes.
Worth: $7.69 on the time of writing

Join eletters right this moment and get the most recent strategies and how-to from Positive Woodworking, plus particular provides.